Thanks Scott. I ordered my video last night and I look forward to receiving it. I will add it to the library of other “Scott Morrison” videos which I have ordered. I have really enjoyed your videos and your e-book on building a woodworking business. I’ve been following your website for a couple years and I have always been inspired by your work. I love your Nanny Rocker and your cradle. Keep me posted when you will have templates of your Nanny Rocker available.......my wife thinks there something wrong with me because I study your rockers and cradle (and other work) for hours on end......yeah, there’s probably something wrong with that, but that’s ok, as woodworking allows me to escape the engineering world for a while. Keep in touch.
Steve

 Scott,
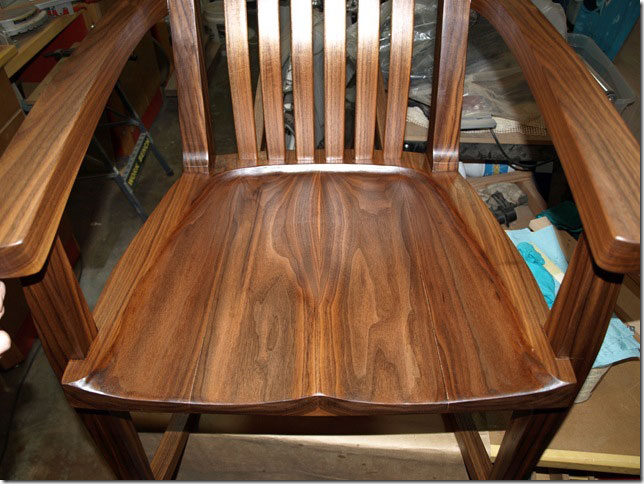
I just wanted to share a couple of pictures of my recently finished chair. Thank you for your easy to follow dvd and templates. My first ever try at a chair and I am now hooked on building chairs. My next project is the Elegant Rocker.
Scott,
I just wanted to share a couple of pictures of my recently finished chair. Thank you for your easy to follow dvd and templates. My first ever try at a chair and I am now hooked on building chairs. My next project is the Elegant Rocker.
James
Scott, Well i bet its getting a little colder where your at, it finally cooled off here in texas. I sold my first rocker and i am building another and a couple of bar stools. They are really nice. The reason i am writing is i am looking for some of the british style f clamps. I cant find any anywhere and i notice you use them in your video, the blue ones I think. If you have any info on them it would really help. I really like all of your videos and everyone else I talk to says the same thing. There are some guys out there with videos like yours but i just can't make it threw one chapter without falling asleep or fast-forwarding. Keep up the good work and thanks again.
Mike

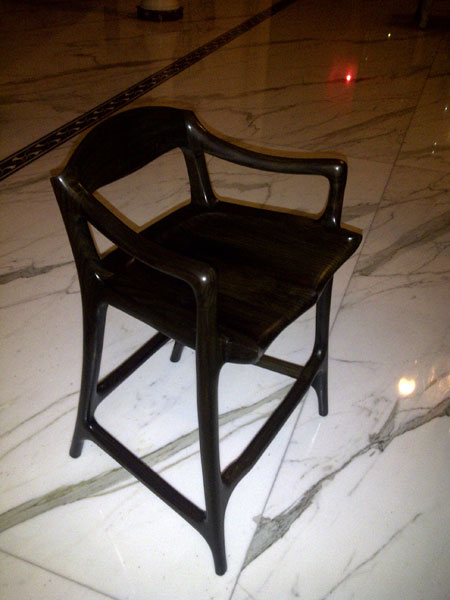 Dear Scott, I bought your templates and DVDs for my father. He made the rocking chair and barstool from Sonokeling wood (Indonesian Ebony). They look great and very comfortable to sit on. Thought you might want to see the pictures :)
Astrid
 Hi Scott,
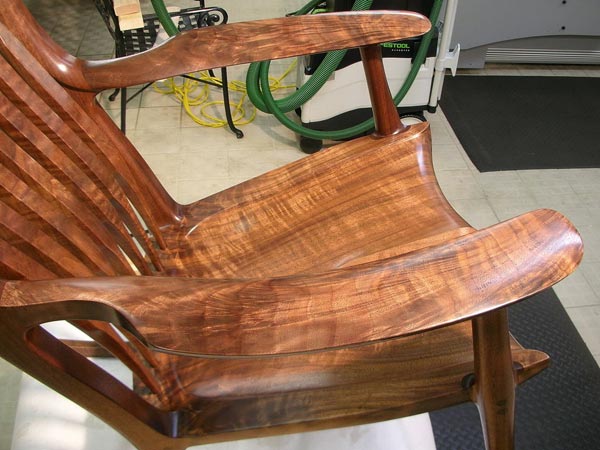
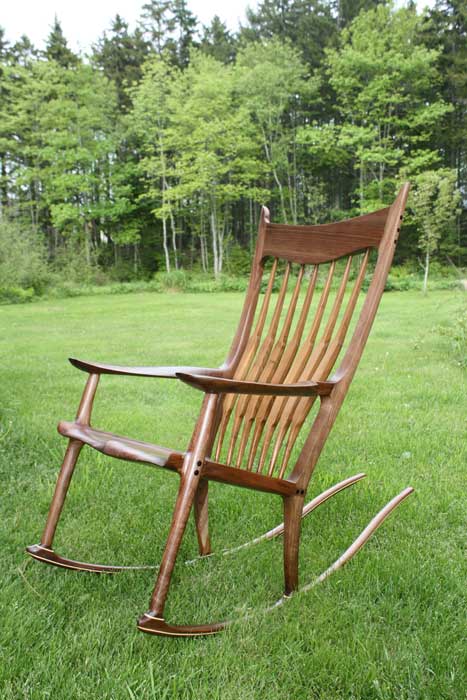
Your DVD's are excellent! The templates were very well done and are important on a project like the rocker to guarantee the balance is right. It was a fun project! My rocker's made of Claro Walnut with bookmatched saddle and arms. I used Wenge for the plugs and I used a chrome inlay rather than a contrasting wood in the rockers. I purchased your Tea Party Chair DVD for my next project. Great work Scott, I'm also looking forward to your future releases. Thanks,
Hi Scott,
Your DVD's are excellent! The templates were very well done and are important on a project like the rocker to guarantee the balance is right. It was a fun project! My rocker's made of Claro Walnut with bookmatched saddle and arms. I used Wenge for the plugs and I used a chrome inlay rather than a contrasting wood in the rockers. I purchased your Tea Party Chair DVD for my next project. Great work Scott, I'm also looking forward to your future releases. Thanks,
Pete
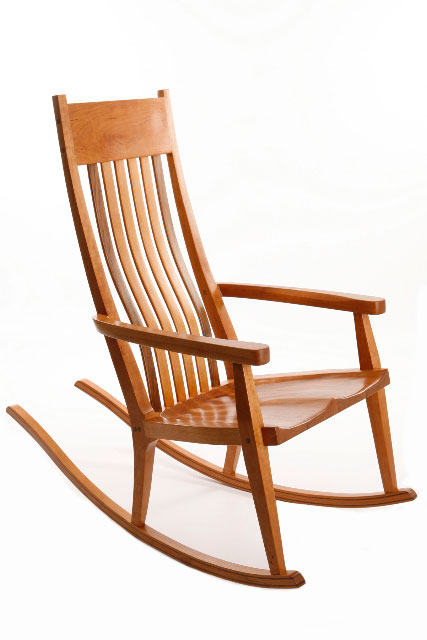
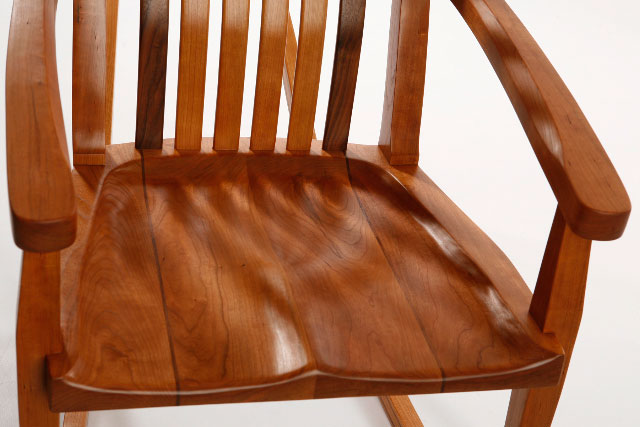
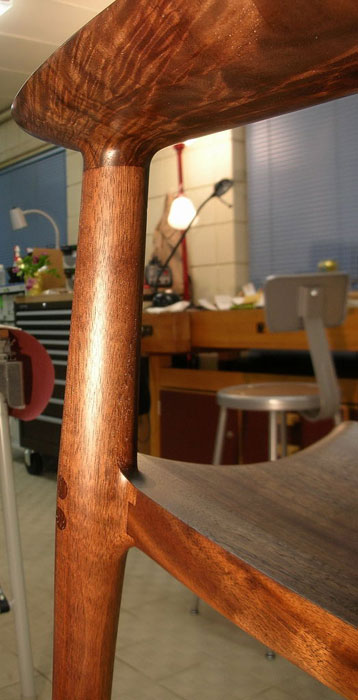
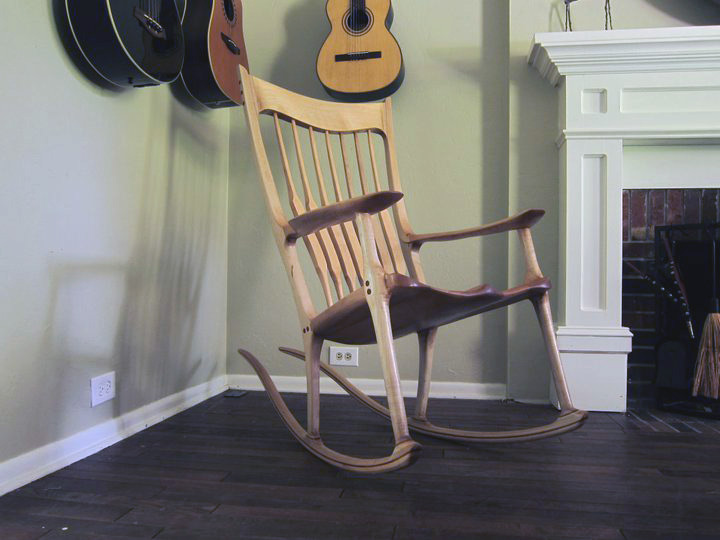
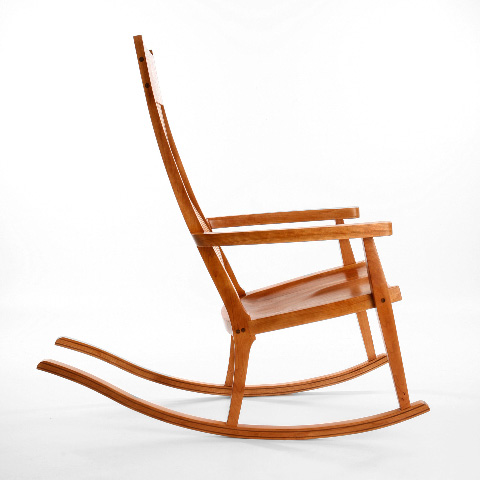 Scott here are a few pictures of my recent project: A Montana rocking chair in cherry with walnut accents.
Jane and Roger
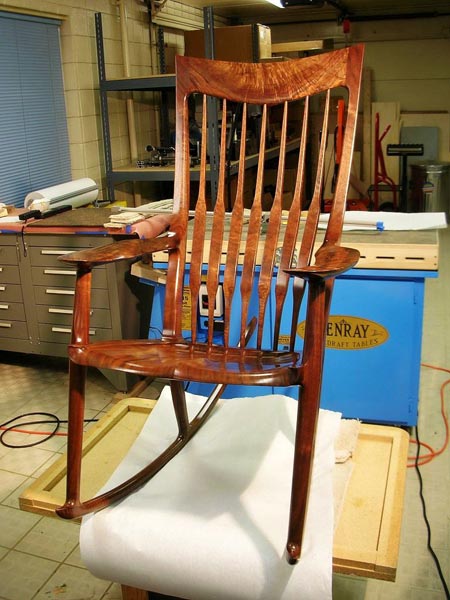
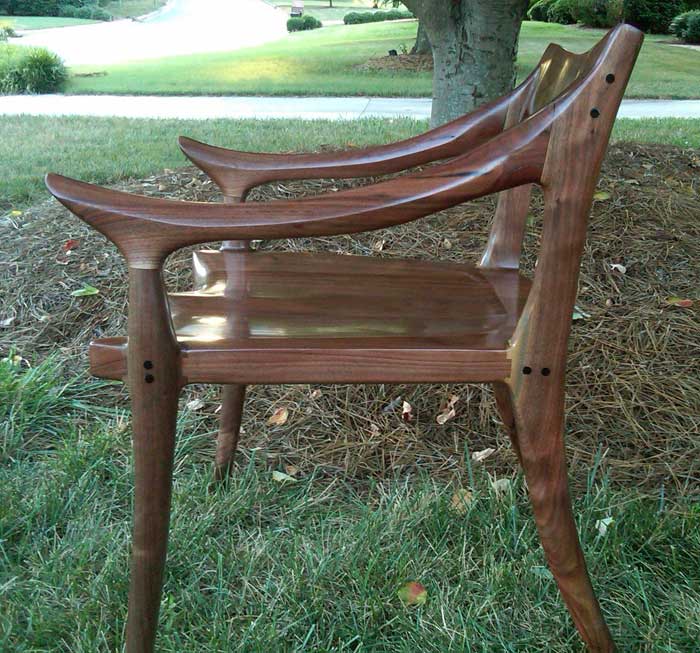 I thought I would send photos to the master for critique. My only regret is that I used walnut lumber that I purchased from Craigslist at $0.50 per bf. This material required a significant amount more prep than high quality lumber to work around defects and limit sapwood. I intend to submit this chair to the 2011 NC state fair. I was fortunate in 2009 that my rocker won best in show. I was a little intimidated last year that I could only fall from the 2009 entry so I did not enter anything.
My next project is to build two barstools using your plans then a settee. I have 200 bf of high quality cherry that I intend to use for these two projects.
I thought I would send photos to the master for critique. My only regret is that I used walnut lumber that I purchased from Craigslist at $0.50 per bf. This material required a significant amount more prep than high quality lumber to work around defects and limit sapwood. I intend to submit this chair to the 2011 NC state fair. I was fortunate in 2009 that my rocker won best in show. I was a little intimidated last year that I could only fall from the 2009 entry so I did not enter anything.
My next project is to build two barstools using your plans then a settee. I have 200 bf of high quality cherry that I intend to use for these two projects.
Jeff C.
Thanks for the Music Stand PDF Scott. I really love doing your projects. I've made 5 stools with the butterfly joint and so far have not been able to keep one for myself. I has to be your great design and joint! Looking forward to making the music stand. Hopefully it will improve my guitar playing. I'll keep you posted on that one!.. :-)
Linda
I just completed the glue up of my low back side chair from your plans. The plans that you provide are the best and most well designed of any plans that I have ever used. Every piece assembled perfectly and it did not require any redesign to make the plans work. I have not found that to be the case with other plans. I am in Washington DC about twice a month on business and have been able to visit the Renwick Gallery on a couple of recent visits to look at the lines of “the masters” work as the low back side chair is currently on display. The plans that you provide do an excellent job at capturing the lines of the original. The low back chair was the first one that I have constructed using the coopered seat and I really like the overall look of the finished seat (also this was much easier than it looks).
Jeff
 Scott,
Well The rocker is finally finished and I have the 1st 2 coats on. I was thinking back to your last email about controlling the sheen with the number of coats. how much sanding if any are you doing between coats? I havn’t used this oil/wax combo much and was wondering the best way to get the best finish. I haven’t sanded the wax coat yet, that would be tomorrow, but it would seem that any sanding would in fact dull the finish. Does the next coat shine that much more? Thought I would ask for your great wisdom again!
Thanks Scott,
Scott,
Well The rocker is finally finished and I have the 1st 2 coats on. I was thinking back to your last email about controlling the sheen with the number of coats. how much sanding if any are you doing between coats? I havn’t used this oil/wax combo much and was wondering the best way to get the best finish. I haven’t sanded the wax coat yet, that would be tomorrow, but it would seem that any sanding would in fact dull the finish. Does the next coat shine that much more? Thought I would ask for your great wisdom again!
Thanks Scott,
Shaun
 Scott,
Well if you can believe it i finally finished this project. Its been a haul but in the end I am very happy with my first attempt. I have gotten tons of compliments and real shock that i was able to pull it off (from my friends) but with your help it was really very doable. I want to thank you for all your help it means alot to me, it is not often that you see anymore people willing to help out strangers like you did. I was going to call and thank you in person but i figured yo may be off trout fishing or something equally as stressful and didnt want to bother you or break your concentration, i know how rough it can be:) I am going to clean up the shop a bit and do a few shop projects ie a better router table then I think i will start picking at the shop stool and look forward to your plans for the small table.
Thanks again Scott,
Scott,
Well if you can believe it i finally finished this project. Its been a haul but in the end I am very happy with my first attempt. I have gotten tons of compliments and real shock that i was able to pull it off (from my friends) but with your help it was really very doable. I want to thank you for all your help it means alot to me, it is not often that you see anymore people willing to help out strangers like you did. I was going to call and thank you in person but i figured yo may be off trout fishing or something equally as stressful and didnt want to bother you or break your concentration, i know how rough it can be:) I am going to clean up the shop a bit and do a few shop projects ie a better router table then I think i will start picking at the shop stool and look forward to your plans for the small table.
Thanks again Scott,
Bill
 Looks like I've gotten all the goody out of my current angle grinder. Are you happy with yours? If so, what model is it?
Thanks,
PS: I'm done with the first rocker, 1/2 way done with the tea party chair and about 1/2 way done with the second rocker. I've attached a decent photo of the first rocker. You may notice that I'm using 5 degree angles on my seat. This was an accident at first but I liked it so I did it on the next rocker as well. Thanks again for teaching me how to do this stuff.
Looks like I've gotten all the goody out of my current angle grinder. Are you happy with yours? If so, what model is it?
Thanks,
PS: I'm done with the first rocker, 1/2 way done with the tea party chair and about 1/2 way done with the second rocker. I've attached a decent photo of the first rocker. You may notice that I'm using 5 degree angles on my seat. This was an accident at first but I liked it so I did it on the next rocker as well. Thanks again for teaching me how to do this stuff.
Byron
 Hi Scott,
Thanks for making these plans available. What tools would be necessary to build the music stand? Would I need a lathe? I ordered the plans and want to start gathering the necessary tools. Also, how many bf of wood would be required?
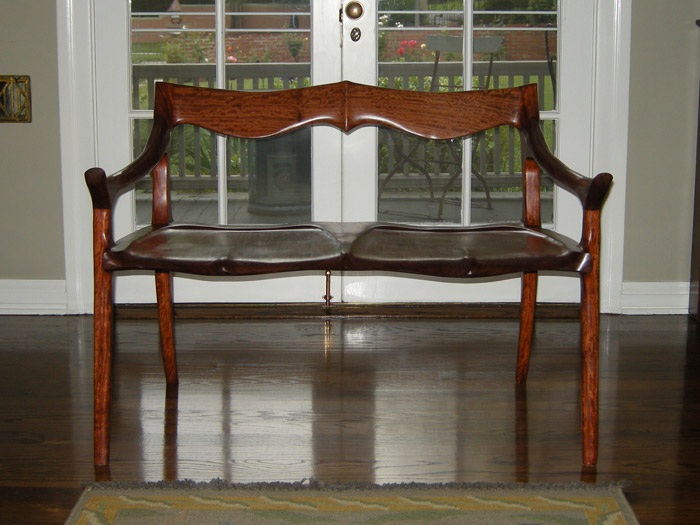
Attached is the settee I made for my mom, which she loves.
Hi Scott,
Thanks for making these plans available. What tools would be necessary to build the music stand? Would I need a lathe? I ordered the plans and want to start gathering the necessary tools. Also, how many bf of wood would be required?
Attached is the settee I made for my mom, which she loves.
Matt
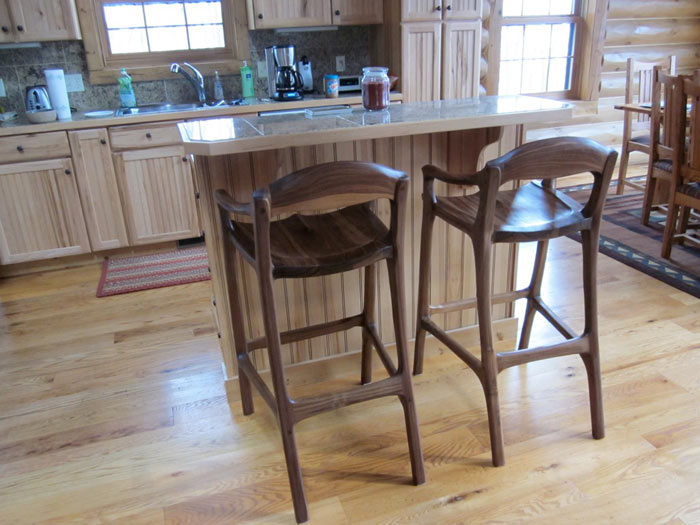 Hi Scott - I finished the two bar stools using your templates and video. They are for a 42" bar and I am very happy the way they turned out. It was definitely a rewarding and project my wife loves them. They have a new home in our northern Minnesota lake home.
Thank you for making the templates and video available to the DIY. I am thinking about a rocker next...as soon as my fingers heal up from all the sanding.
Thanks.
Hi Scott - I finished the two bar stools using your templates and video. They are for a 42" bar and I am very happy the way they turned out. It was definitely a rewarding and project my wife loves them. They have a new home in our northern Minnesota lake home.
Thank you for making the templates and video available to the DIY. I am thinking about a rocker next...as soon as my fingers heal up from all the sanding.
Thanks.
Neal R.
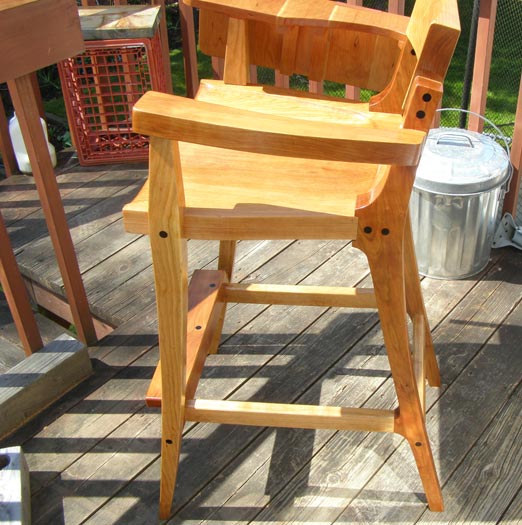
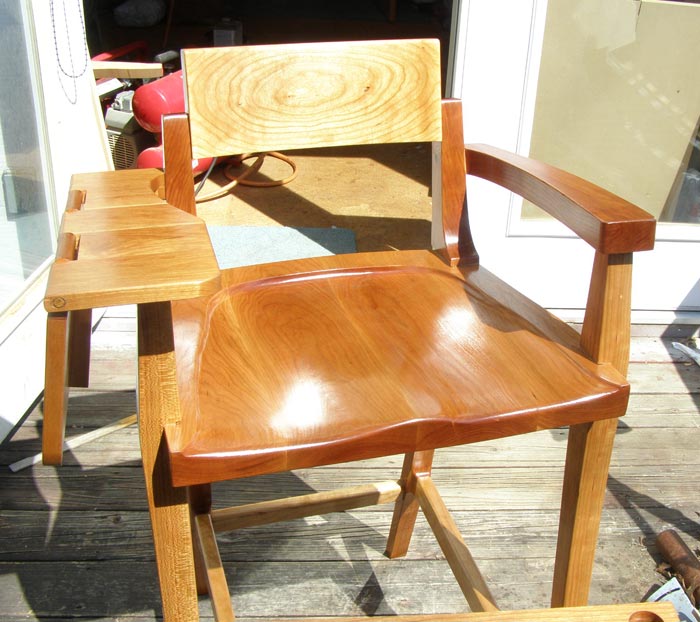 Scott this is the shop stool that I made from your plans. After I talked to you yesterday on the finish, I put one more coat on it today and did not wipe it off as hard as before (like you said) and I think it worked better. Please tell me what you think of it.
Jerry
 Finished, Scott. How'd I do?
I wish you could feel them. The finish came out very nice and silky.
How are you?
Finished, Scott. How'd I do?
I wish you could feel them. The finish came out very nice and silky.
How are you?
Prashun
Thanks again Scott, I will send a few more pics once I get the rockers on. I am sure you hear this alot but if it were not for your help, this project would have been way out of my league. Now I can fool everyone into thinking I am half decent at this:) I think my wife even wants me to make more now so it looks like I might get my new lathe out of it after all, so it has definitely worked out:) Thanks again,
Bill
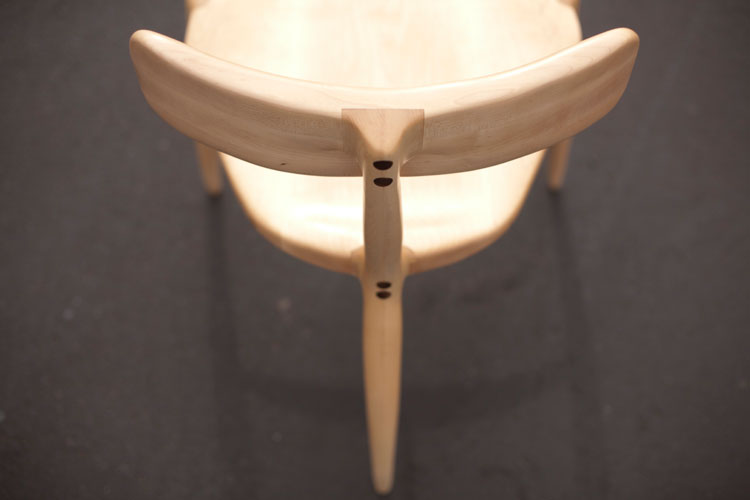
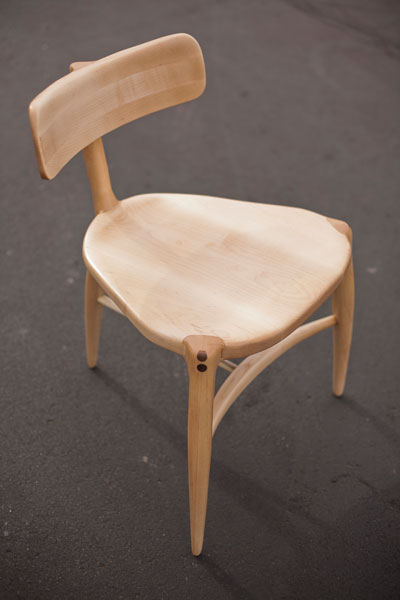
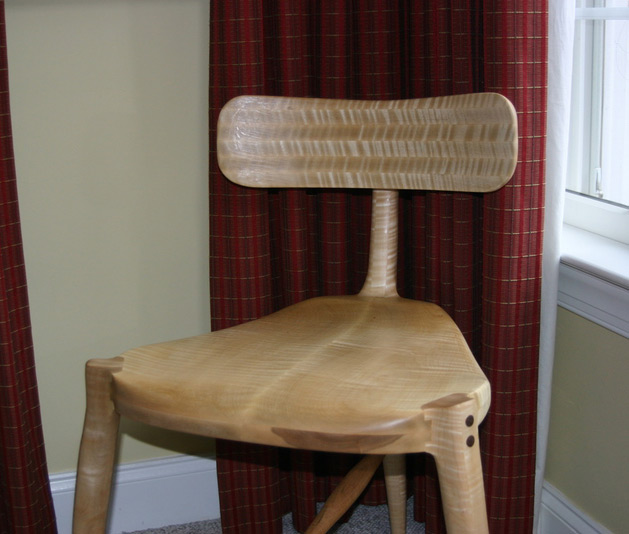
 Hi Scott, just a couple of pics of my three legged chair. Thanks for the video.
Steve H.
I just finished watching your DVD,s. for the Classic Rocking Chair. WOW. I have to say that you did a fantastic job of presenting the entire process. I purchased another set of plans and DVD from someone else and they were a great disappointment. Your videos were professional, your instructions were clear and complete, and you left me with very few questions. You are to be commended for your work. It would be a bargain at twice the price. Thanks,
William
Scott, My name is Byron Young. My dad and I are about to build two of your rocking chairs simultaneously. Man, great job on the video. I'm a critical SOB and they are perfect. Ok, enough butt kissing, here's my question: We are new to fine woodworking so we are worried about our wood selection. We are in North Florida in a NON conditioned shop so the humidity is about to sky rocket. Are we screwed? We are planning to use soft maple with black walnut accents. Can we assume that it needs to be kiln dried? We start making patterns tomorrow. What did you use for patten material? Thank you,
Byron
Mr. Morrison, I loved the tea chair dvd and plan to start making my first chair right away, however; I was wondering if you offer classes? (chair making preferably), you have the very best instruction I have come acrossed, which I have seen many. I like to make sawdust like you and see what becomes of it. I think like you, Sam Maloof is a hero and inspiration to me. Thanks again Hope to hear from you soon.
RB
Just thought I would drop you a note to let you know I received the low back chair DVD and patterns. Last night I put them in the computer and could not stop watching until completed them. After watching them I thought I would let you know they are very well done and very much worth the investment to learn how to make one of these chairs.
John
Scott, Just finished watching the DVD. I was really impressed with it. The instruction exceeded all expectations I had. As soon as I became confused at any given point, my questions were answered immediately. The only part that seemed too quickly passed over was the milling process at the beginning. I've got my wood together and am currently trying to figure out the steps that go into planing and jointing. I was wondering if you could shed some light on this. Also, I will be using a friend's jointer and thickness planer, but was wondering if there are any hand tool substitutions that at all time/cost efficient. Thanks for your time.
Joe